Video Effects
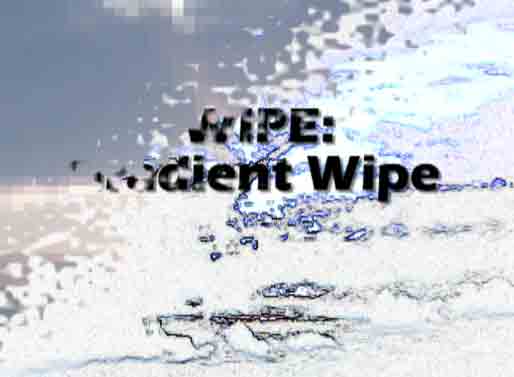
For this project, in order to effectively showcase each available Video Effect I took two clips of a video (2 versions of the same sunset), made each clip 5 seconds long and proceeded to take each and EVERY Video Effect and apply it to one of the clips. In order to make sense out of it all, each effect is labeled clearly for Category and Style.
What I learned is that the vast majority of effects require some type of keyframing to really make the effect pop. In some instances, without setting keyframes the applied effect makes little to no noticeable impact on the clip.
The keying clips all relate to matting out some element in your video and as such the blue/green screen mattes don't really translate for this exercise so just understand that you'd need some footage shot in front of a blue/green screen to use either of these effects.
The Tracking Matte effect is the effect used most often for blurring out someones face, or license plate in videos. It can also be used to make titles show video within the title.
In most instances, I used the default effect properties settings. You'll know where I didn't because the effect either keyframes, moves or is skewed in some way to demonstrate the effect.
With all the effects, titles, cross dissolve transitions and music the final render output is 320x240 at 1.5mbps and took just over five minutes to render for the youtube version. The running time is 7:10 and the file is 90 megabytes.
I'm currently working on creating another version of this to show the Video Transitions which should be completed and ready for viewing this weekend. Check back here for updates.
Cheers and Happy Effecting!